I wrote my first Squarespace blog post series back in 2015.
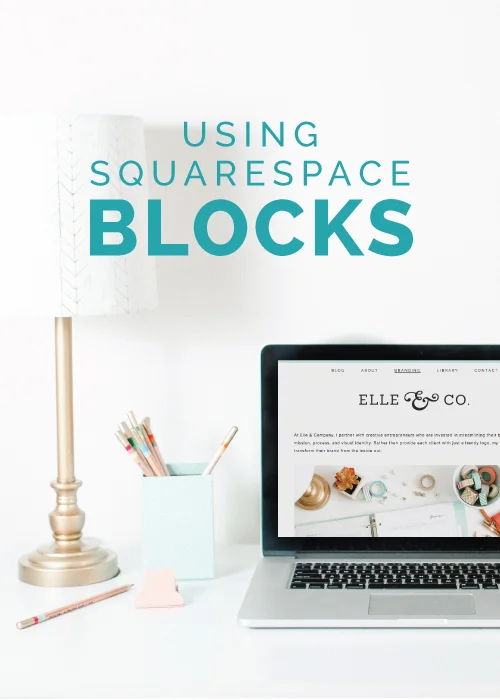
I covered everything from how to set up pages and navigation to how to use Squarespace blocks, Squarespace SEO and metrics, setting up a blog and shop, and customizing your Squarespace website.
And even though these posts are 3 years old, they continue to be some of the most popular on my site. You may have even stumbled across Elle & Company for the first time through one of them!
But Squarespace has continued to change and grow since then, so it’s time for an update.
Over the next several weeks I’ll be walking you through a brand new Squarespace series. I’ll expand on the how-to posts, include new updates, and share about topics I haven’t yet covered.
If you’re currently using Squarespace for your website or plan to get your Squarespace site up and running in the coming months, you won’t want to miss these posts!

By now you’re probably well aware that Squarespace is easy on the eyes, user friendly, affordable, compatible across all devices, and easy to edit (all reasons why I love this platform and recommend it to online business owners).
But as easy as Squarespace is to use, getting started can still be overwhelming.
So to make the setup process as easy as possible for you, I created a trusty guide in the form of this blog post.
Not only will it walk you through all the steps, but it also includes a simple quiz that will help you make one of the most crucial decisions about your new site.
1 | Choose a template
Once you click either of the Create a Site or Start a Free Trial buttons on the Squarespace homepage, you’ll be asked to select a template.

There are currently 90+ beautiful templates available through the Squarespace site alone.
And while it’s nice to have so many options, it can be time-consuming and overwhelming deciding which one will be the best fit for your website.
To save you time and stress, we’ve created a simple 4-question quiz to point you in the right direction!

Remember that this decision is never set in stone; you can always switch templates at a later date.
2 | Create an account
Unlike other website builders, Squarespace allows you to take your site for a free test drive for 14 days before making a commitment.
During that time you can experiment with your template, explore the backend of Squarespace, and get everything up and running before you upgrade and publish your new site.
To get started with that trial, you’ll need to create a Squarespace account.
Once you’ve selected your template, Squarespace will ask you a few basic questions (first name, last name, email address, password) to setup your new account.

Once those basics are out of the way, Squarespace will ask a few more detailed questions (Who is this site for? What is this website about? What are your goals for this site? What is your website title?) to finish setting up the basics of your new website.
Some of these questions will be used to set up the backend of your site, while others help Squarespace keep a pulse on who is using their platform and what their goals are.
3 | Get acquainted with the backend
After completing these questions, Squarespace will log you into your new website.

Everything you need to edit and manage your site can be found in the left-hand menu of the screen. Here you’ll find links to manage the different aspects of your site.
Pages links to your content.
Design controls the look and feel of your site.
Commerce controls your store, if you have one.
Marketing houses email and social media tools.
Analytics provides Squarespace specific data.
Comments manages all your blog comments in one place.
Settings controls backend features like SEO and your contact info.
Help links you to the Squarespace Knowledge Base.
Be sure to click around on each of these sections to familiarize yourself with the backend of your site.
The right side of this window always displays your site’s live preview.
At first you’ll see a demo version of your selected template in that space, but it will continue to look more and more customized as you create new pages, add images, and customize the content of your site.
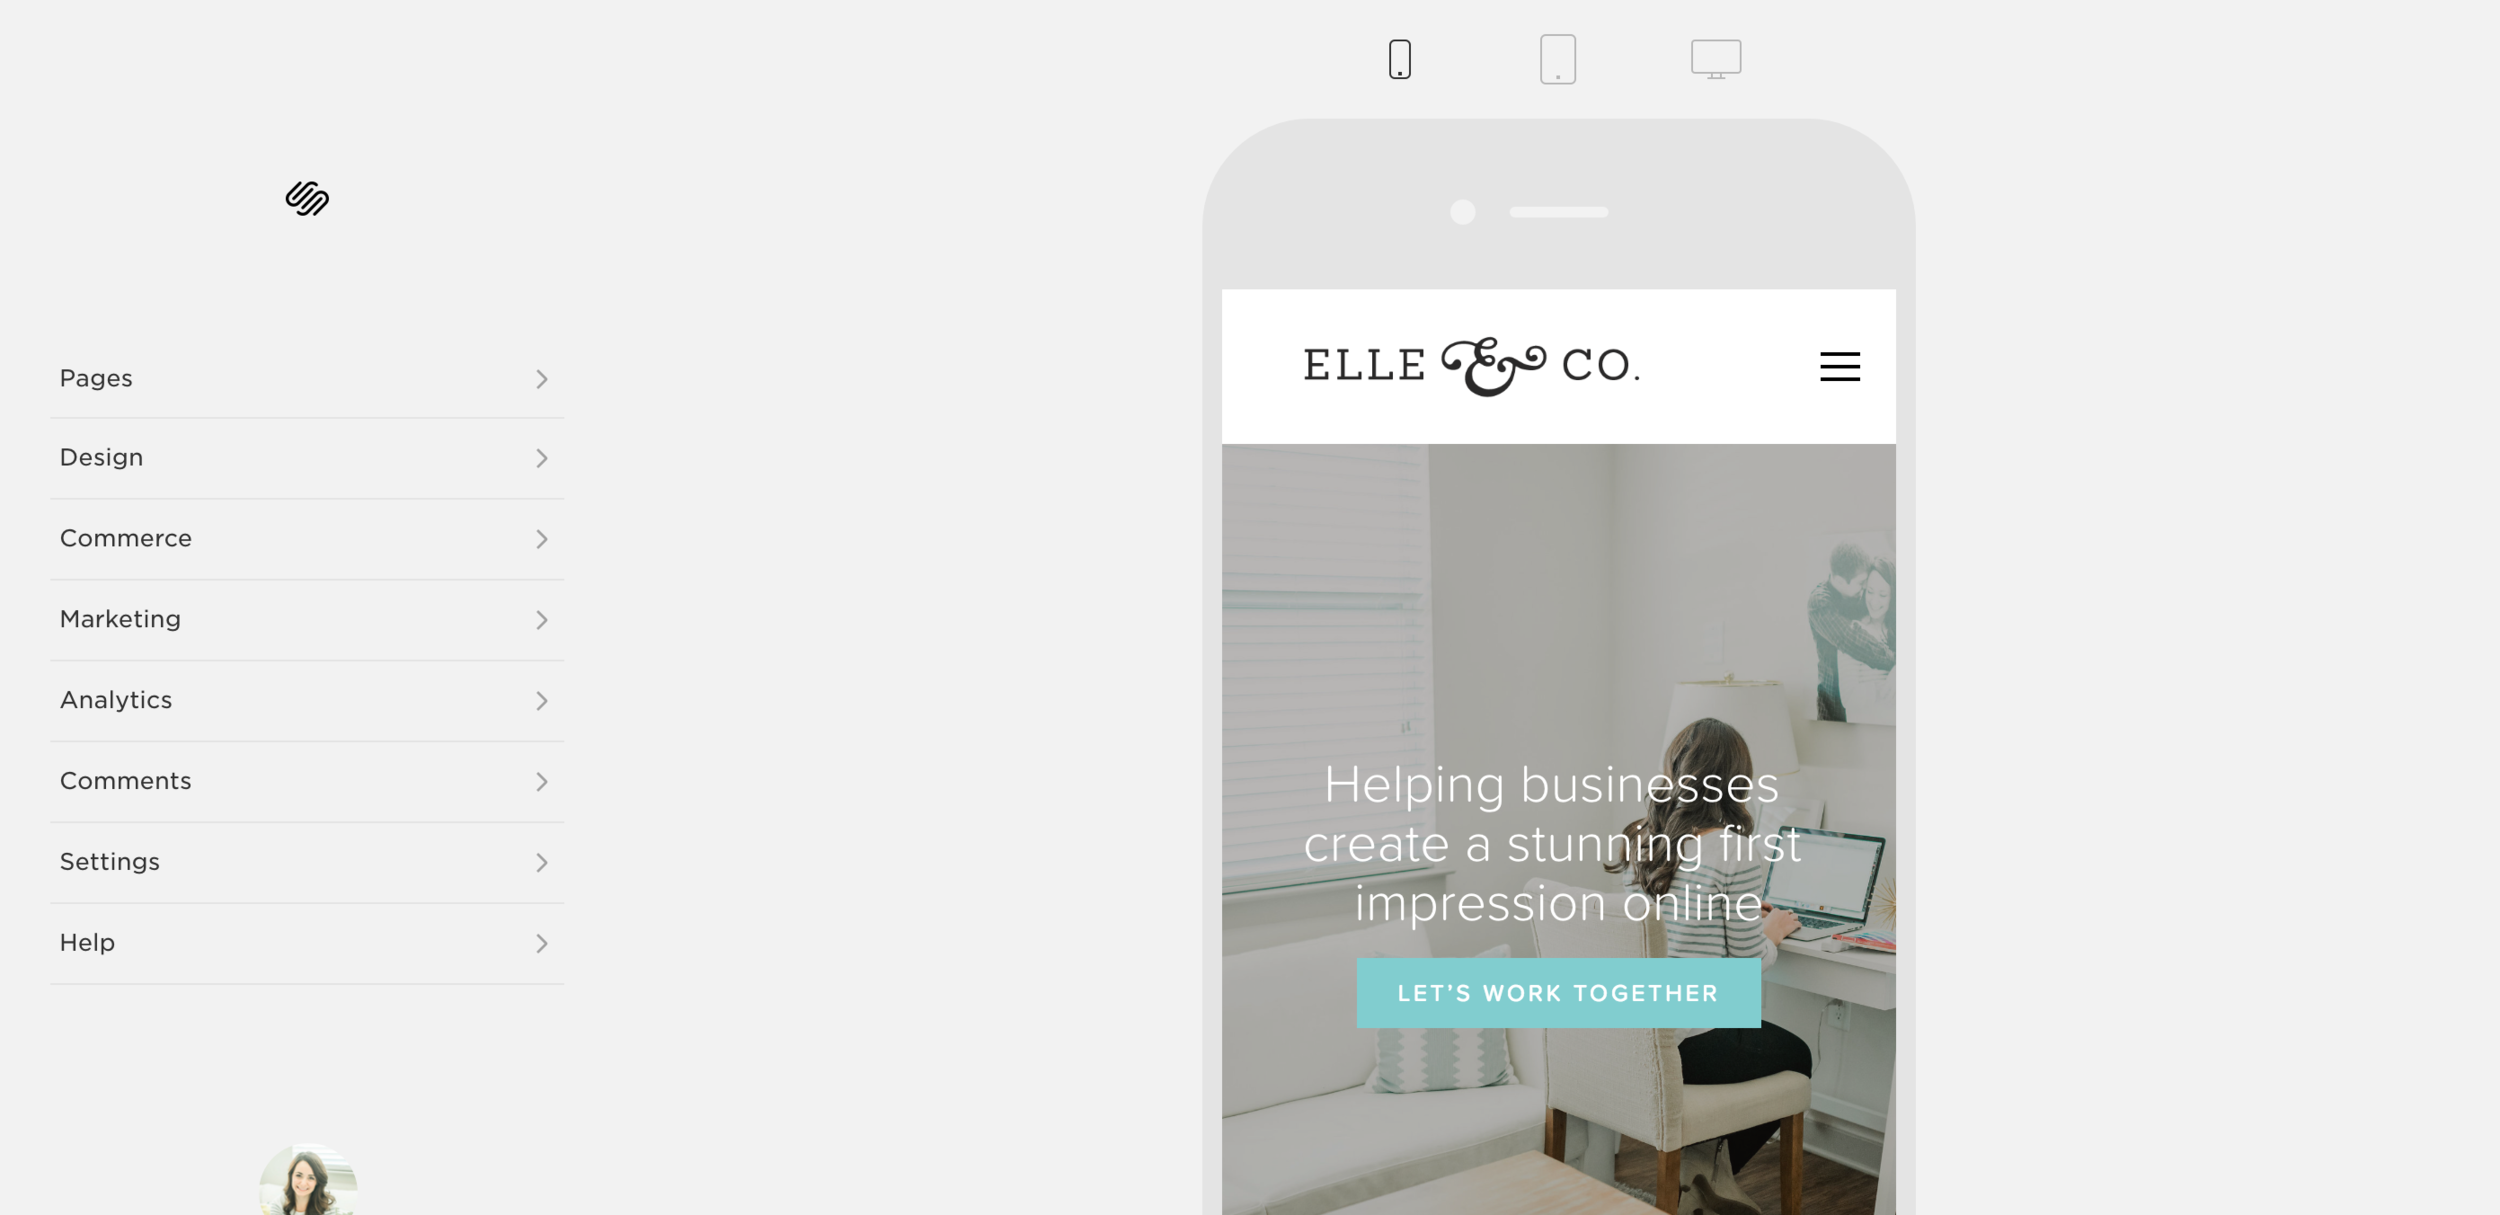
As you scroll over the line icon at the top of this window, an arrow will appear. If you click it, you can see a live preview of what your site will look like on a smartphone, tablet, or desktop.
This is especially helpful as you layout your content and make design decisions for your new website.
4 | Setup basic information
Now that you’re familiar with the backend of your Squarespace site, I recommend setting up some basic information before diving headfirst into content and design (although I know that can be tempting!).
First click Design and select Logo & Title. Your site title should already appear, so now it’s time to add a tagline.

Next, it’s time to add a logo image. This image will replace your site title, so you’ll most likely want to add your business’s primary logo.
When you’re uploading an image to this section, be sure that it’s a high-quality PNG file with a transparent background. Many templates include parallax scrolling or don’t have an exact white background, and you don’t want a white box to constantly appear behind your logo!

The last must-have in this section is a favicon - the small icon that appears in browser windows and web bookmarks. It’s best to use a secondary logo that fits well in a square and is legible when sized small.
You can also add a social sharing logo as well, although this is optional. The social sharing logo is displayed when linking/sharing your pages on your social networks.
Be sure to save your updates at the top of the screen before returning back to the home menu and clicking Settings > Basic Information.
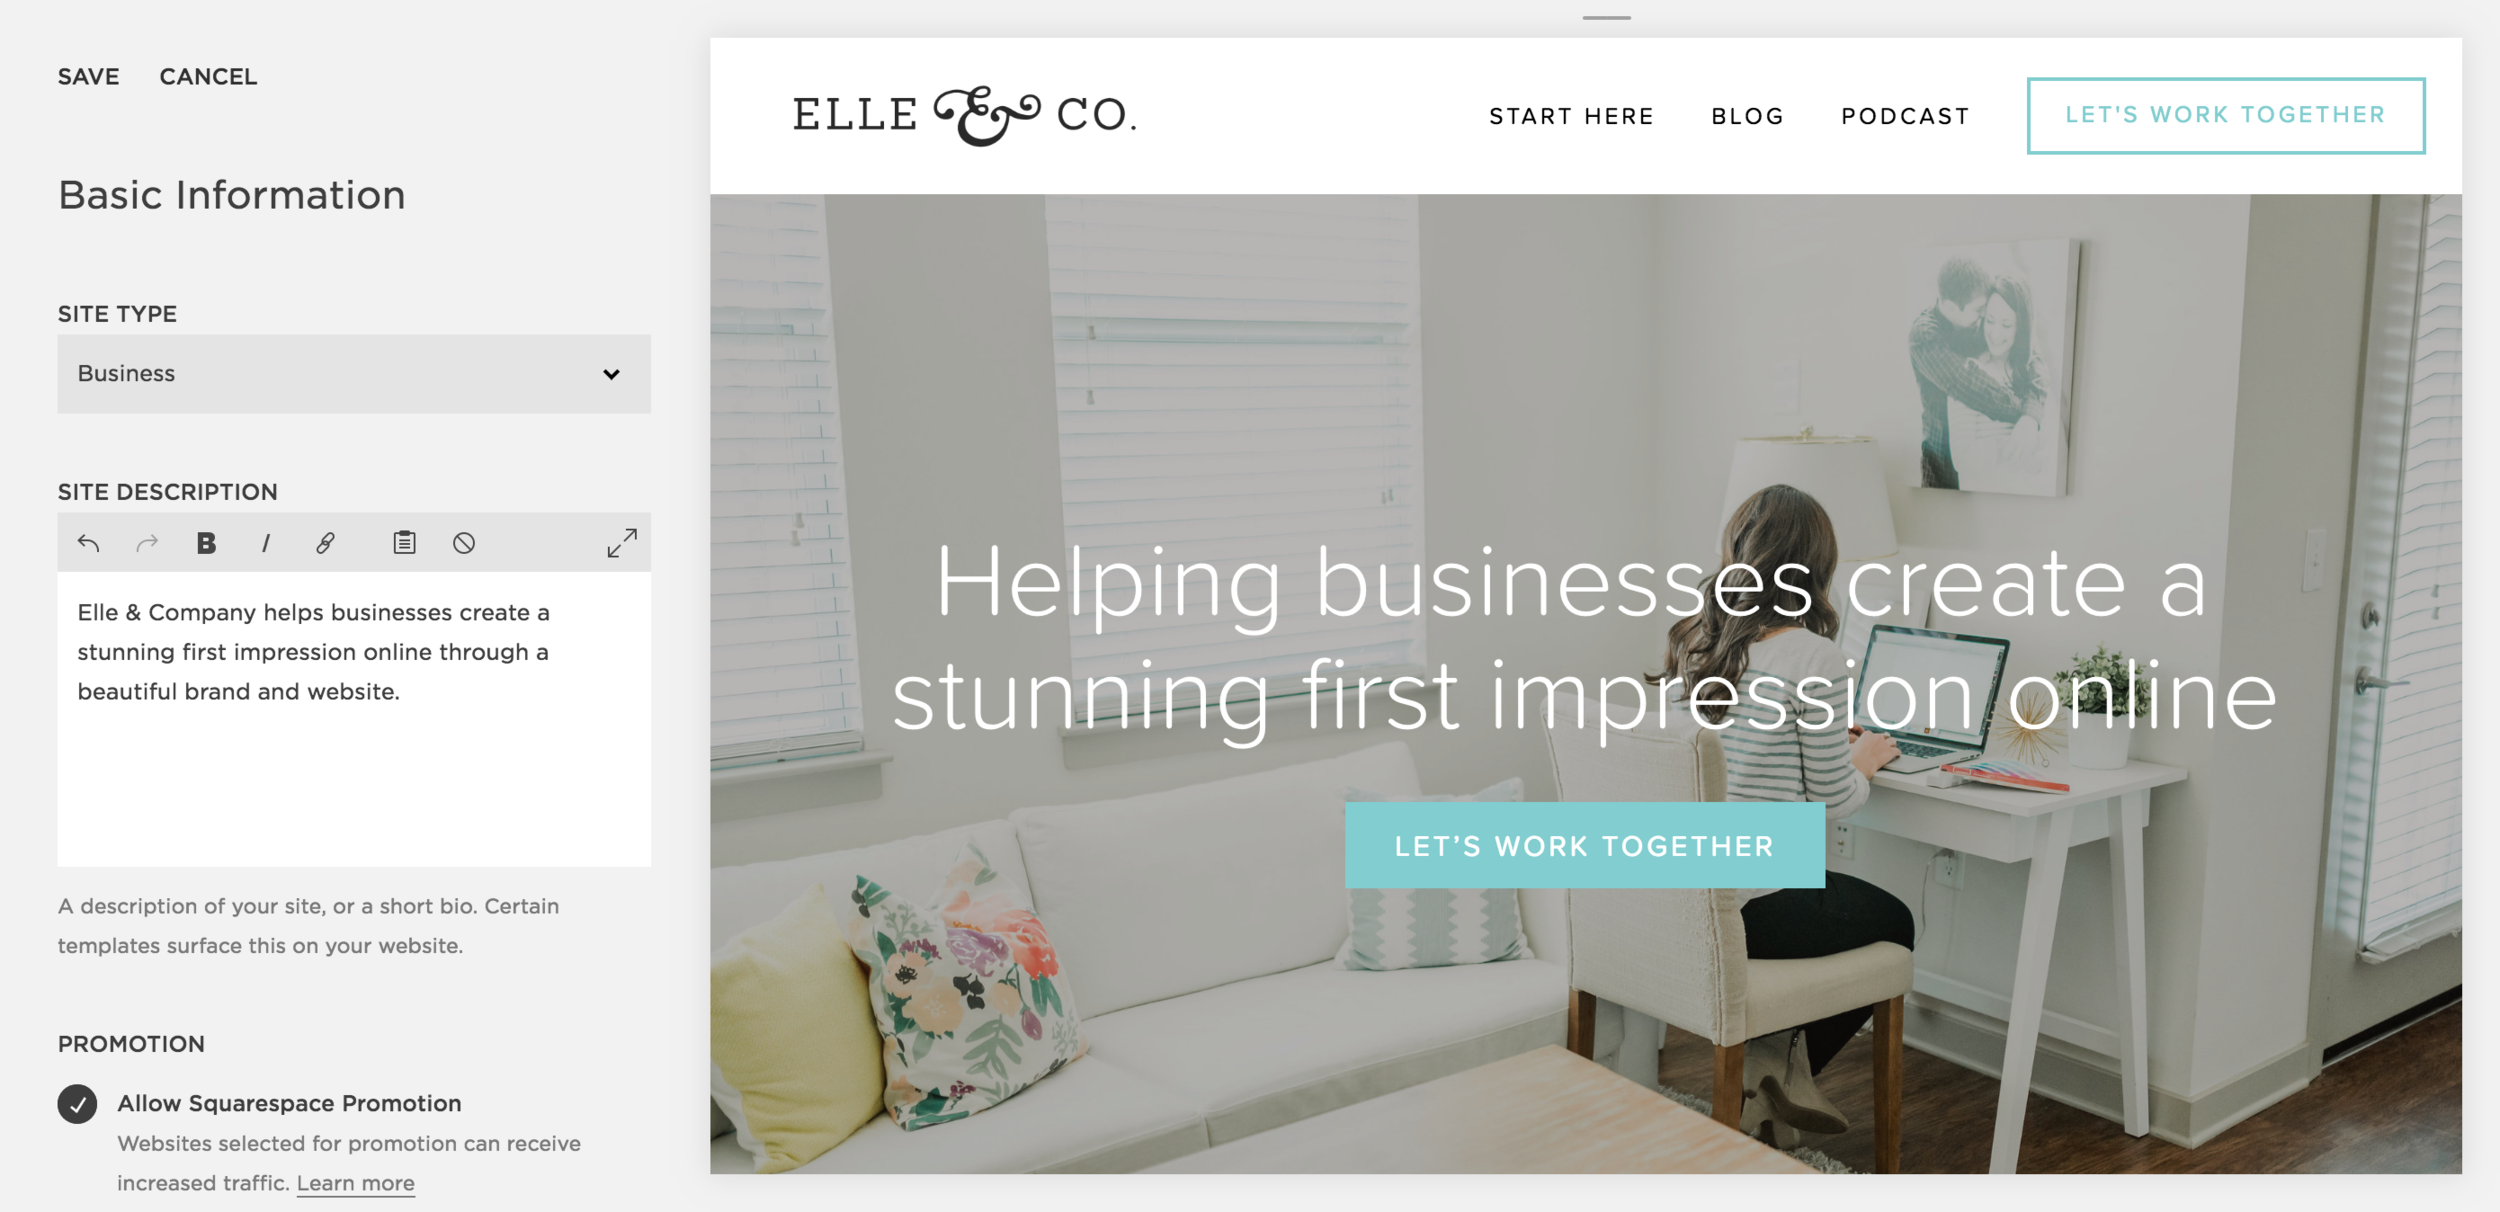
If you want to change the site type you previously entered, you can do that here.
But the most important section on this screen is the site description. Whatever you type here will appear in search engines like Google, so be sure to choose your keywords wisely! This will help increase your SEO.
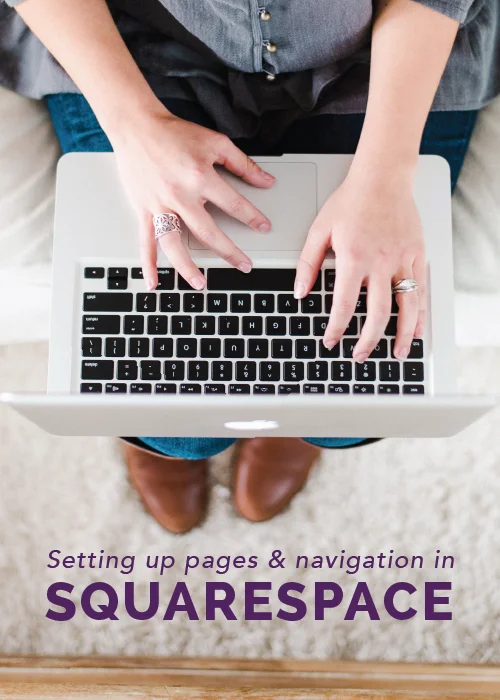
5 | Setup pages and navigation
Now for the fun part - customizing your new site! We’ll start building the structure of your website by setting up pages and navigation.

Like I mentioned earlier, your Squarespace template comes with demo content. You can either use those page layouts and add in your own content, or you can delete it and start from scratch.
There’s a lot to learn when it comes to setting up your navigation menu, linking pages to your navigation, creating additional unlinked pages, working with blocks to build your pages, etc.
I’ll be sharing a guide to setting up pages and navigation in Squarespace later in this series, so be sure to stay tuned for that blog post!
But in the meantime, Squarespace has a short video series to show you some simple things you can do to get your web presence up and running. Their Getting Started with Squarespace series has a video (#2 on the list) all about pages and navigation.
6 | Customize your site
Now that the foundation of your website is ready to go, it’s time to start designing!
The Style Editor, located in the Design section of the home menu, allows you to customize the appearance of your site to match your existing brand.
Many templates will vary in how these sections are organized and which styling options are made available.
Again, there’s a lot to learn when it comes to customizing your Squarespace website. You can either use the Style Editor to customize fonts, colors, sizes, backgrounds, etc. for things like the site headers, site navigations, main content, prefooter, footer and buttons, or you can use custom code to change the appearance of your site.
I’ll be sharing all that I know about customizing the look of your Squarespace site in an upcoming post, so stay tuned!
But if you want to go ahead and get started now, Squarespace’s Getting Started with Squarespace series has a video (#3 on the list) all about site style and using the Style Editor.
And if you want even more help, their Next Steps with Squarespace series will walk you through how to present content visually and use custom code for advanced modifications.
7 | Go live!
After designing your site, it's time to upgrade from your trial and either add a custom domain or transfer over your existing domain.
To upgrade your trial, login to the backend of your Squarespace website and select Settings > Billing & Account > Billing from the main menu on the left-hand side of the screen.
You’ll see a big gray Upgrade button and you can follow the steps from there. (Not to worry! All the work you did to customize your trial site will still be there after you upgrade.)
To manage your domain, select Domains from the Settings menu.
Your site is automatically assigned a default Squarespace domain (with .squarespace.com on the end) when you first start your trial. Once you add a custom domain to your site, you’ll still see this .squarespace.com default domain in your back end. Only you can see this; visitors will only see the custom domain.

To set a custom domain, you have three options:
- If you’re on an annual plan, you can register a Squarespace-managed domain for free by clicking the Get a Domain button.
- If you aren’t on an annual plan, you can still purchase your new domain through Squarespace through that Get a Domain button.
- If you have a domain hosted with a third-party service, you can link your domain in the Domains panel by clicking the Use a Domain I Own button.
Squarespace will walk you through the steps for each of those options. But if you want even more help, Squarespace has an entire Squarespace Domains FAQ page that’s very helpful.
In just 7 simple steps you can get your Squarespace website up and running!
This post merely scratches the surface, but I’ll be going more in-depth in the coming weeks. Be sure to join the Elle & Company Community Facebook group and subscribe to my email list below for updates on this series:
Which Squarespace template are you using? What Squarespace questions would you like to see answered in this series?